
Why Bathroom Tile Jobs Fail - and How to Set Them Up to Last
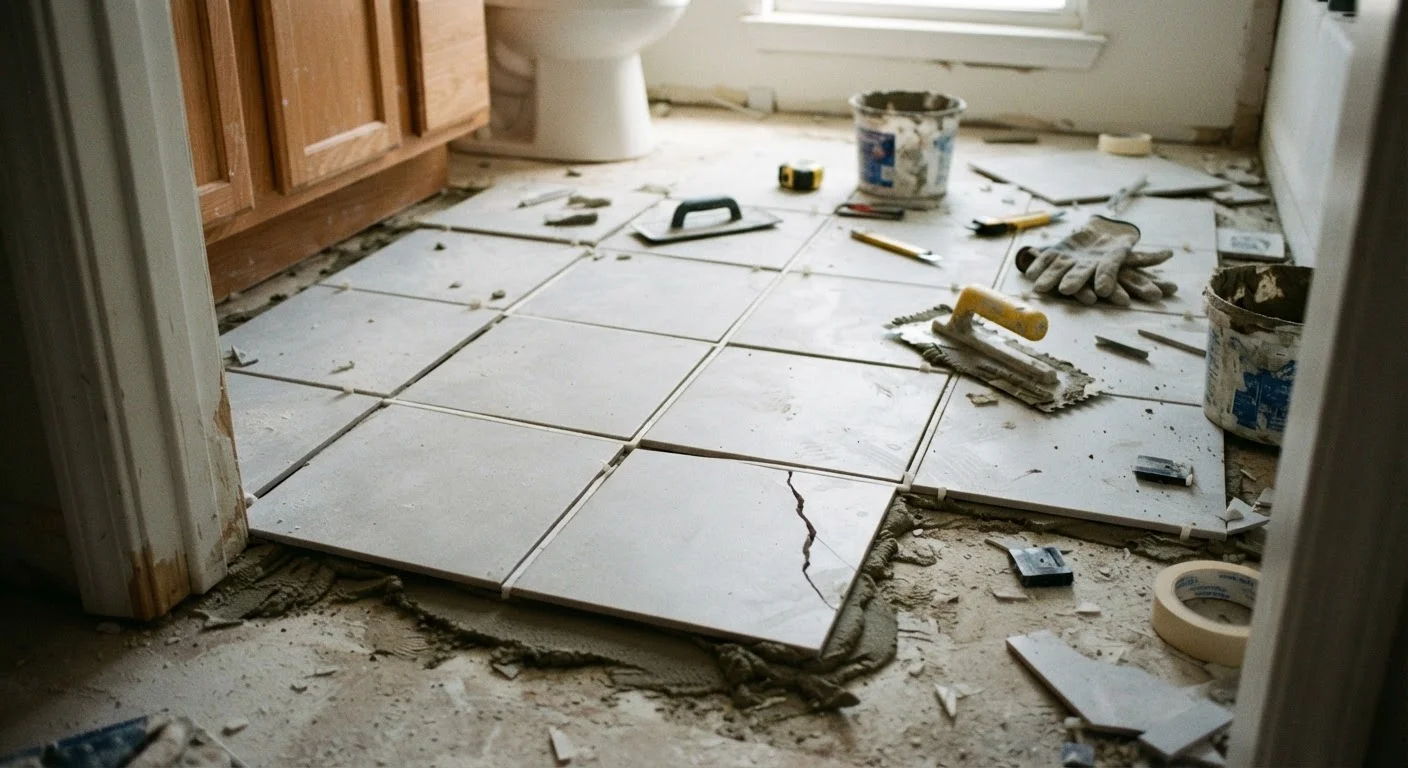
Photo credit: AdvisorHQ.net | Informative Website
Grout cracking, tiles popping loose, lippage between rows — most tile failures start long before the first piece goes down. Here's where things go wrong.
Key Takeaways
- Substrate preparation is the single most critical factor in tile job longevity.
- Using the wrong mortar or skipping back-buttering causes tiles to hollow out and pop loose over time.
- Grout joints that are too narrow trap moisture and crack under normal movement.
- Lippage - uneven tile edges - is almost always caused by an uneven substrate, not technique.
- Movement joints (expansion gaps) are required in most installations; skipping them leads to cracked grout.
- Layout planning before you mix any mortar prevents awkward cuts and weak edges at focal points.
The Real Reason Most Tile Jobs Don't Last
Walk into almost any bathroom that needs retiling and you'll find the same story: grout crumbling at the floor-wall junction, tiles that sound hollow when tapped, hairline cracks running through the field. Homeowners often assume these are signs of cheap tile or bad luck. They're almost never either. They're the result of a handful of specific, repeatable mistakes made during preparation and installation.
Tile is a rigid, unforgiving material bonded to a surface that moves - seasonally, thermally, and structurally. When the installation doesn't account for that movement, or when the foundation underneath isn't solid enough to carry the load, failure is a matter of when, not if. The good news is that every major failure mode is predictable and preventable.
If you're planning a bathroom renovation, our renovation planning guide walks through how to sequence trades and decisions before materials ever arrive on site - the same logic applies to bathrooms.
Installing tile over a substrate that flexes or has too much deflection.
Why it happens: Homeowners assume an existing floor is solid enough if it feels firm underfoot. Subtle flex that's hard to detect by walking is enough to crack grout and eventually pop tiles loose.
Using the wrong type or consistency of mortar for the tile size and location.
Why it happens: Many first-time tilers grab a single bag of all-purpose thinset without reading specifications. All-purpose thinset is not appropriate for large-format tiles, natural stone, or wet areas requiring specific coverage ratings.
Skipping layout planning and starting from an edge rather than the center of the room.
Why it happens: Starting from a straight wall feels intuitive. But walls are rarely perfectly square, and a layout anchored to one edge almost always produces awkward, narrow cut tiles on the opposite side.
Grouting with joints that are too narrow, or choosing the wrong grout for the joint width.
Why it happens: Narrow joints look sleek in showrooms, but grout manufacturers specify minimum joint widths for a reason: thin joints can't absorb minor movement or accommodate slight size variation in tiles.
Omitting movement joints at changes of plane and around fixtures.
Why it happens: Movement joints interrupt the visual line of grout and feel like an unnecessary detail to homeowners who want a seamless look. But grout is inflexible and will crack wherever two surfaces move independently.
Rushing - grouting before mortar has fully cured, or applying sealant before grout has dried.
Why it happens: Tiling is time-consuming and homeowners are eager to see the finished result. It's tempting to grout the next morning and seal the same afternoon.
Building a Foundation That Actually Holds
Once you understand where tile jobs fail, the corrective path becomes clear: every step of preparation deserves as much attention as the tile itself.
95%
Minimum mortar contact required in wet areas
The Tile Council of North America specifies at least 95% adhesive coverage behind tiles in wet areas like showers and tub surrounds to prevent water infiltration.
L/360
Maximum allowable subfloor deflection for tile
Industry installation standards specify that subfloor assemblies must meet an L/360 deflection limit - floors that flex beyond this threshold are a leading cause of cracked grout and hollow tiles.
Test before you tile. Deflect the subfloor by walking it and watching for flex. The industry standard for tile substrates is no more than L/360 deflection - meaning a floor joist span should flex less than 1/360th of its length under load. If your floor bounces, no amount of mortar will compensate.
Use the right backer. Cement board or uncoupling membranes (which separate the tile layer from the subfloor to absorb movement) are appropriate for wet areas. Standard drywall, even moisture-resistant versions, is not a suitable tile substrate in a shower or tub surround.
Plan your layout on paper first. Snap chalk lines to find your true center, identify where cut tiles will land, and adjust your starting point to avoid slivers at doorways or tub edges. A sliver of tile - anything less than half a tile wide - at a prominent edge is a mark of poor planning and is also more prone to cracking because there's less adhesive surface area holding it.
Read the mortar label. Large-format tiles (anything over 15 inches) typically require a medium-bed or large-tile mortar. Standard thinset may not provide enough support across the back of a large tile, creating voids that become hollow spots. Back-butter each tile - meaning spread a thin coat of mortar directly on the tile back before setting - to maximize contact.
Leave movement joints. At every change of plane (floor to wall, wall to ceiling, around fixtures) and in large field areas, leave a gap filled with flexible sealant rather than grout. Grout is rigid; sealant is not. This is where most bathroom grout cracks originate.
Tile work rewards patience. Rushing the cure time on mortar before grouting, or grouting before the substrate has fully dried, collapses the benefit of everything done correctly before it.

Author
Home & Garden Editorial Team
Home & Garden Editorial Team is the collective byline for our editorial team and contributor network. Articles published under this byline or an editorial pen name are researched, written, and reviewed according to our editorial standards for clarity, consistency, and independence before publication.
View all articles →