
Keeping Your Trip Organized Across Booking Platforms and Emails
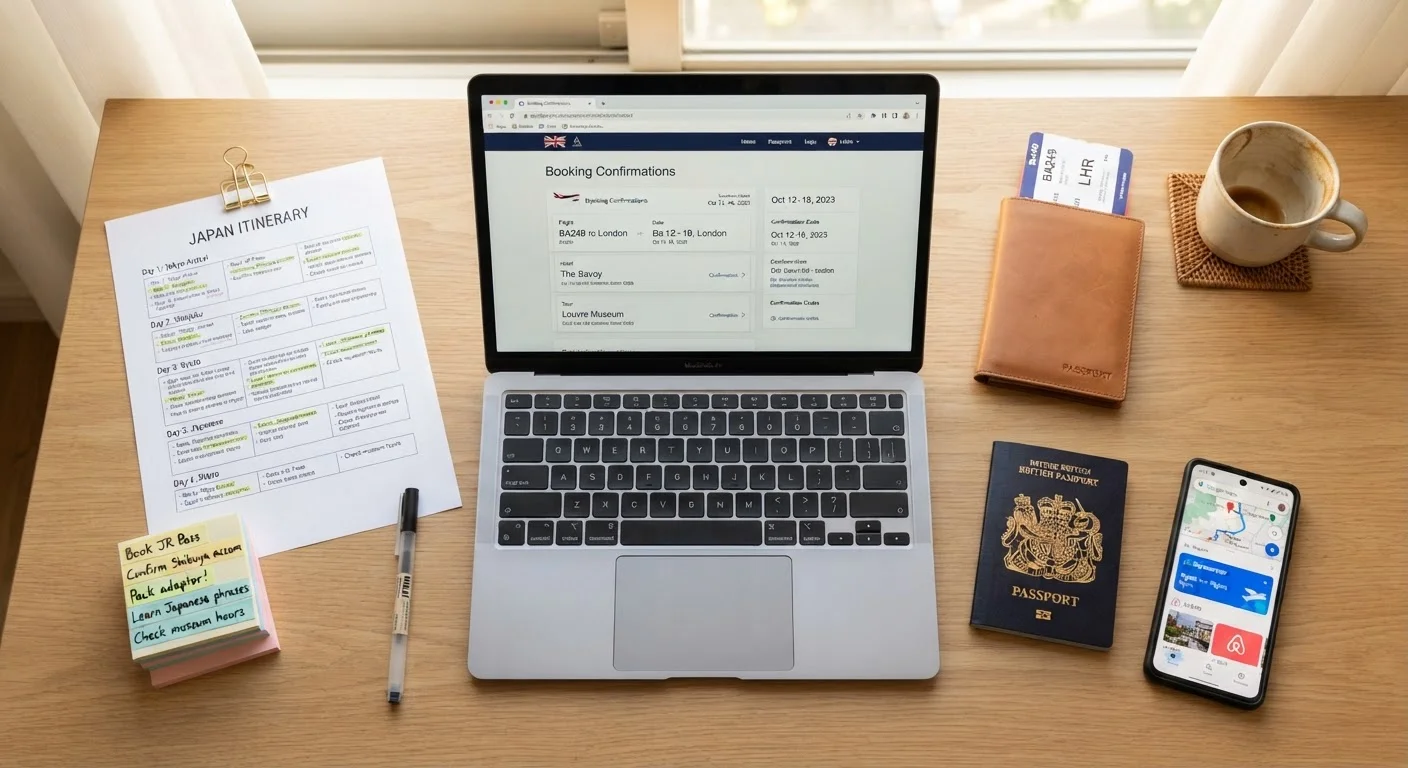
Photo credit: AdvisorHQ.net | Informative Website
In this article
When reservations are scattered across apps and inboxes, trips get messy fast. Here's how to centralize your travel information effectively.
Key Takeaways
- Scattered bookings across multiple platforms and inboxes are one of the most common causes of preventable travel stress.
- A single dedicated email label or folder for all trip confirmations dramatically reduces search time.
- Free itinerary aggregator tools can automatically pull flight, hotel, and car rental data into one timeline.
- A shared document or app is especially valuable when traveling with others who need access to the same details.
- Offline copies of key confirmations protect you when connectivity is unreliable or absent.
Why Scattered Bookings Cause Real Problems
Most travelers book a flight on one site, a hotel on another, tours through a third, and restaurant reservations via email. By departure day, critical confirmation numbers are buried across three inboxes, two apps, and a browser tab that got closed weeks ago. The result isn't just inconvenience - it's missed check-in windows, duplicated bookings, and the creeping anxiety of not being sure everything is actually confirmed.
If you're still at the early planning stage, our first-timer's trip planning roadmap can help you build good organizational habits before your first booking even goes through. But if you've already got reservations scattered across platforms, the steps below will help you pull everything back together.
Start Your Filing System at Booking One
The easiest time to organize trip information is before it gets scattered. The moment you make your first reservation, create your email folder and master document. Adding each new booking takes under two minutes when you do it immediately - untangling a pile of confirmations the night before departure takes much longer.
What You'll Need Before You Start
Getting organized doesn't require paid software. Most of what you need is probably already available to you.
What you will need
Dedicated email label or folder
Acts as a single filing location for every booking confirmation, so you're never searching across your full inbox.
Itinerary aggregator app
Automatically parses forwarded confirmation emails and assembles them into a chronological travel timeline.
Shared cloud document
Provides a manually editable master reference that anyone on the trip can access and update in real time.
Printed or downloaded offline backup
Ensures you can access confirmation numbers and addresses even without cell service or Wi-Fi.
Step-by-Step: Centralizing Your Travel Information
Work through these steps once per trip - ideally a week or two before departure - and you'll arrive at the airport with everything you need within a single tap or page turn.
Create a dedicated label or folder in your email
In whichever email client you use most, create a clearly named folder or label - something like "Trip: [Destination] [Month]". Then search your inbox for every confirmation you've already received (search terms like "booking confirmation," "reservation," or "itinerary" work well) and move or label each one. Going forward, file every new confirmation here immediately after it arrives.
Forward confirmations to an itinerary aggregator
Free tools like Google Travel automatically detect travel bookings tied to your Gmail account. Third-party aggregators typically work by letting you forward confirmation emails to a special address, then parse the key details - dates, flight numbers, hotel addresses, check-in times - and build a visual timeline. This eliminates the need to manually enter data and reduces the chance of a typo in a critical booking number.
Build or verify a master itinerary document
Whether you use an aggregator or a plain shared document, create one file that lists every element of the trip in chronological order: flight departure and arrival times, airport terminal information, hotel check-in and check-out times, confirmation numbers, activity booking references, and any important addresses. Include a brief note on cancellation policies for major bookings - knowing the deadline matters when plans shift.
Download offline copies of critical documents
Export or screenshot your master itinerary and save it to your phone's local storage - not just to a cloud-only app that requires connectivity. Also download individual confirmation PDFs for flights, hotels, and any pre-paid tours. International travel especially can involve stretches of poor connectivity where your cloud-based documents are temporarily inaccessible.
Share access with fellow travelers
If anyone else is joining the trip, give them view or edit access to the master document. Walk them through where to find the information before you leave - a shared document no one knows how to open under pressure helps no one. For group trips, consider assigning one person to own each category (flights, accommodation, activities) so updates stay coordinated.
Once your information is consolidated, it's worth thinking about how you'll use it on the ground. A well-organized itinerary should leave room for flexibility, not lock you into a rigid schedule. Our guide on how rigid your itinerary should actually be explores that balance in detail.
Staying Organized After You've Booked
Organization isn't a one-time task. Flights get rescheduled, hotel policies change, and new activities get added. Build a habit of forwarding every new confirmation to your designated trip folder or email label immediately - don't wait until it stacks up again.
If you're traveling with others, make sure everyone has access to the same master document or itinerary app. One person holding all the details and then losing their phone is its own kind of logistical crisis. A shared document or collaborative itinerary tool solves this cleanly.
For a deeper look at building a cohesive day-by-day plan from your consolidated bookings, our itinerary-building principles guide walks through pacing, buffer time, and flexible structure across any trip length. And if you want a single end-to-end reference that covers everything from destination research through on-the-ground prep, Travel Planning: Everything in One Place is worth bookmarking.
Don't Ignore Itinerary Change Notifications
Airlines, hotels, and tour operators regularly send schedule or policy change emails that look easy to dismiss. Make a habit of opening every message that arrives in your trip folder - a gate change or modified check-in time buried in an unread email is easy to miss until it's too late. Set your aggregator app to push notifications for any changes it detects.

Author
Travel & Trips Editorial Team
Travel & Trips Editorial Team is the collective byline for our editorial team and contributor network. Articles published under this byline or an editorial pen name are researched, written, and reviewed according to our editorial standards for clarity, consistency, and independence before publication.
View all articles →