
Painting Interior Walls: Surface Prep Is the Whole Job
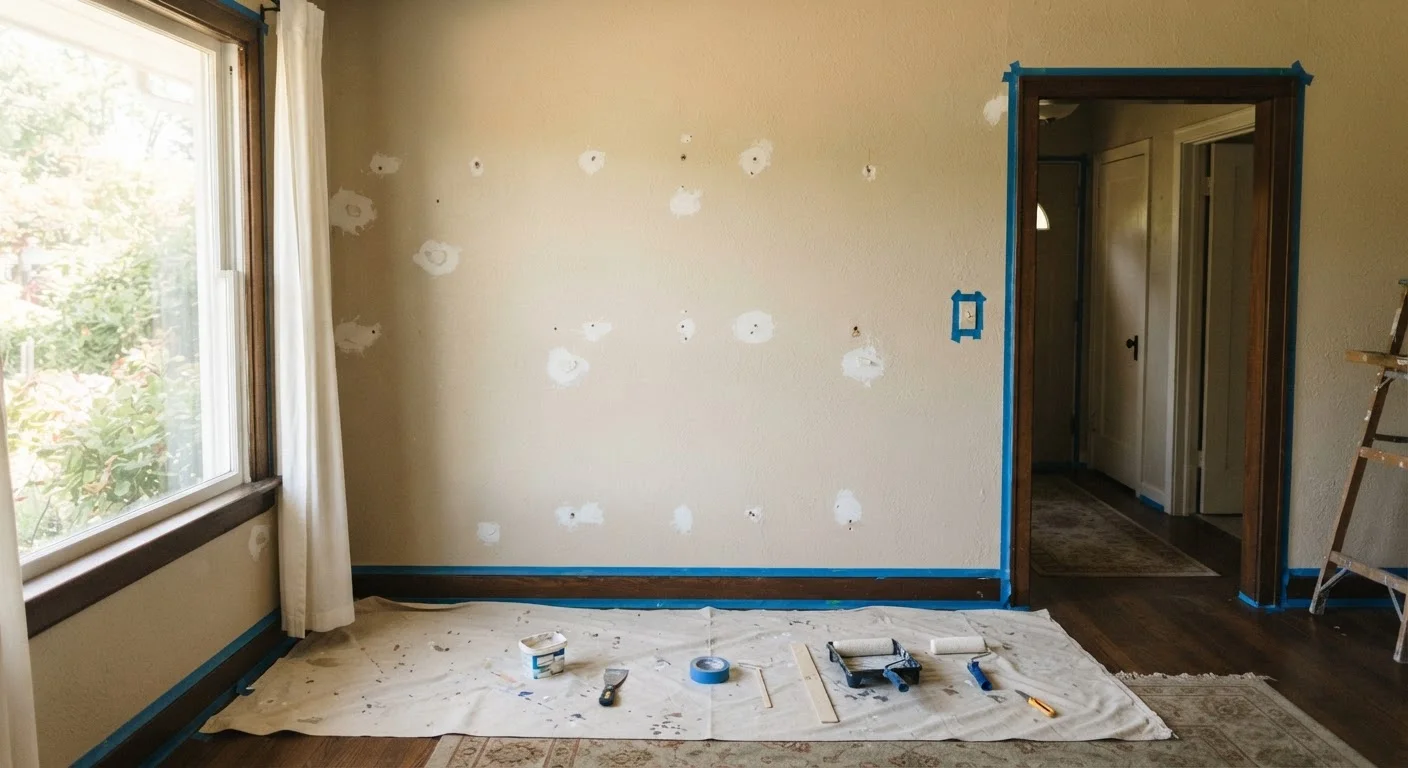
Photo credit: AdvisorHQ.net | Informative Website
In this article
Good paint results come from the work done before the roller touches the wall. This guide covers patching, priming, and prep steps most people skip.
Key Takeaways
- Surface preparation - not paint quality - is the single biggest factor in a smooth, lasting finish.
- Skipping patching or priming leads to visible flaws and paint that peels or fades prematurely.
- Cleaning walls before painting is essential; dust, grease, and soap residue prevent proper adhesion.
- Primer is not optional when painting over repairs, dark colors, or new drywall.
- Curing time matters: rushing between coats causes texture problems and poor coverage.
Why Prep Work Determines the Outcome
Most homeowners spend the most time choosing paint color and the least time preparing the surface. That's the wrong order of priorities. Paint is a coating - it reveals the surface beneath it rather than hiding it. Bumps, cracks, grease spots, and untreated patches all show through even two coats of quality paint.
Professional painters commonly say that prep accounts for roughly 80 percent of the job. The actual rolling and cutting-in goes relatively quickly. What takes time - and what separates a smooth, durable result from a patchy disappointment - is the work done before the lid ever comes off the can.
“The wall doesn't care how expensive your paint is. It only reflects how well you prepared it.”
— A common principle in professional painting trades, Industry saying among experienced interior painters
Clean the Surface First - Every Time
Walls collect more grime than most people realize. Cooking grease migrates into kitchens and adjacent hallways. Bathrooms accumulate soap film and mildew. High-traffic areas pick up body oils and scuffs. Paint applied over any of these won't bond properly and may peel within months.
Wash walls with a mild detergent solution and a sponge, working from the top down. For kitchen walls or areas with visible grease buildup, use a degreasing cleaner formulated for painted surfaces. Rinse thoroughly with clean water and allow walls to dry completely before proceeding - typically 24 hours in normal indoor humidity.
For mildew spots, a diluted bleach solution (follow product label ratios) can address surface mold, but persistent or widespread mildew may indicate a moisture problem that should be resolved before painting.
Don't Rush the Drying Time
After washing walls, resist the urge to prime or paint the same day. Moisture trapped under primer or paint causes bubbling, peeling, and adhesion failure. In humid climates or bathrooms, allow extra drying time - or use a fan to speed the process. When in doubt, touch the wall: it should feel completely dry to the back of your hand before you continue.
Patch Every Imperfection Before You Prime
Even small nail holes left unfilled will create tiny shadows on a freshly painted wall. Address every flaw - nail holes, dents, cracks, and larger damaged areas - before priming.
For nail holes and minor dings, lightweight spackling compound works well. Apply it with a putty knife, overfill slightly, let it dry fully, then sand flush. For hairline cracks, apply a flexible paintable caulk along the crack, smooth it with a damp finger, and let it cure. For larger holes or significant drywall damage, patching techniques vary based on the size of the repair. See our complete guide to drywall repair for step-by-step techniques on everything from small dings to full panel replacements.
After patching, sand all repaired areas smooth with 120-grit sandpaper, then wipe away dust with a damp cloth or tack cloth. Any dust left on the surface will get trapped under the primer and show in the final finish.
Fill every nail hole and surface dent before priming.
Unfilled holes create visible shadows and texture variations under paint, even through multiple coats. Addressing them before primer means they're sealed and sanded before any finish layer is applied.
Wash walls with a degreasing solution and let them dry fully.
Grease, dust, and soap residue create a barrier that prevents paint from bonding to the surface. Adhesion failure - peeling or flaking - is frequently traced back to inadequate cleaning.
Apply painter's tape at a slow, deliberate pace.
Rushed taping leaves gaps or uneven edges that paint bleeds under, requiring touch-up work. Pressing the tape edge firmly with a putty knife creates a tighter seal.
Spot-prime every patched area before the full wall coat.
Patched spots are more porous than the surrounding wall and will absorb topcoat paint differently, causing dull, flat-looking areas that contrast with the sheen of the rest of the wall.
Sand between coats when a smooth finish is the goal.
Dust particles and minor brush marks can get trapped in the first coat. A light scuff with fine-grit sandpaper (220-grit) between coats removes these and helps the second coat adhere evenly.
Prime Strategically - Not Just Once Over Everything
Primer serves several functions: it seals porous surfaces, provides a uniform base for topcoat adhesion, and helps cover stains that paint alone cannot block. Knowing when and where to apply it changes the outcome significantly.
Spot-prime every patched area first. Spackled spots and joint compound are porous and will absorb the topcoat unevenly, leaving dull spots called flashing on an otherwise shiny wall. A quick coat of primer over each patch fixes this before you roll the full wall.
Apply a full coat of primer when: you're painting over new or bare drywall, switching from a very dark color to a much lighter one, covering stains (water marks, smoke, or marker), or painting a surface that hasn't been painted in many years. In these cases, skipping primer means applying two or three additional coats of paint to achieve what one primer coat plus one topcoat would accomplish.
80%
Of paint job quality attributed to surface prep
A widely cited estimate among professional painting trades, reflecting that most finish defects originate in inadequate preparation rather than the paint itself.
24 hrs
Minimum drying time after washing walls
Most painting professionals and product guidelines recommend allowing at least 24 hours for washed walls to dry before priming, longer in high-humidity conditions.
Quick Wins: Steps You Can Take Right Now
If a painting project is coming up soon, here are the steps to tackle first so you're not rushing through prep the day you paint.

Author
Home & Garden Editorial Team
Home & Garden Editorial Team is the collective byline for our editorial team and contributor network. Articles published under this byline or an editorial pen name are researched, written, and reviewed according to our editorial standards for clarity, consistency, and independence before publication.
View all articles →