
Starting Your First Home Improvement Project: A Grounded Introduction
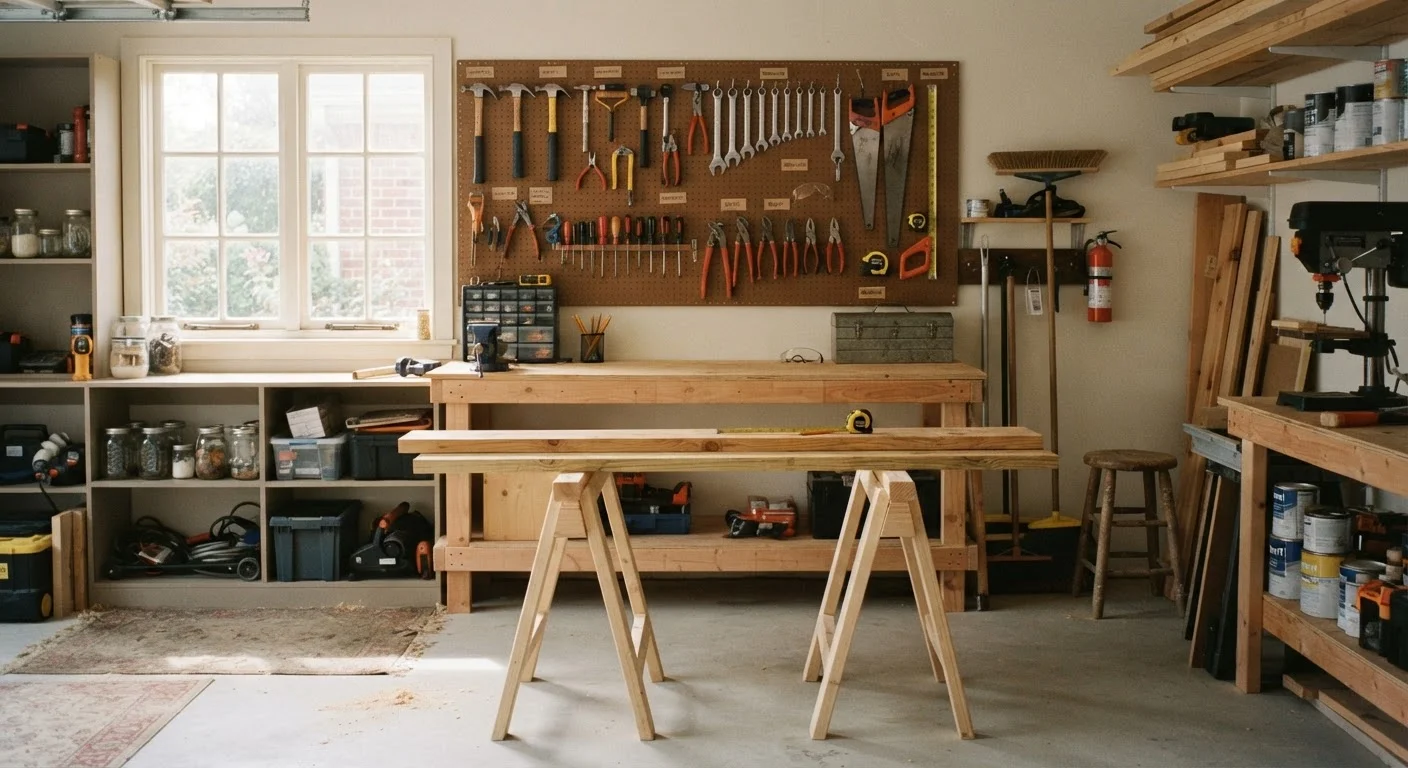
Photo credit: AdvisorHQ.net | Informative Website
In this article
New to homeownership or DIY? This beginner's guide covers tools, safety basics, reading project scope, and how to avoid the costliest first-timer errors.
Key Takeaways
- Defining a project's full scope before starting prevents budget overruns and unfinished work.
- A small set of quality hand tools covers most beginner projects without major upfront cost.
- Personal protective equipment is non-negotiable on every job, no matter how minor it seems.
- Many structural, electrical, plumbing, and gas tasks legally require a licensed professional.
- Understanding basic renovation terminology helps you communicate clearly and avoid expensive misunderstandings.
- Rushing the planning phase is the single most common and costly mistake first-timers make.
Understanding Project Scope Before You Buy a Single Tool
The most important work on any home improvement project happens before you touch a wall. Defining scope - what exactly you plan to do, where it starts, and where it ends - is the difference between a finished project and an unfinished room you avoid for months.
Start by writing out a plain-language description of the outcome you want. "Paint the living room" is not enough; "patch three nail holes, prime bare drywall, and apply two coats of paint to all four walls and ceiling" is scope. That specificity drives your materials list, time estimate, and budget.
Next, walk the space carefully. Look for existing damage that could expand the project: water stains, soft floors, peeling surfaces, or outdated fixtures. These are not reasons to quit - they are reasons to plan honestly. A project that uncovers water damage partway through will cost more and take longer if you didn't account for that possibility upfront.
Before diving in, brush up on common renovation vocabulary so you can read instructions, labels, and contractor quotes without guesswork. Our home improvement terminology reference covers dozens of terms - from rough-in to load-bearing - in plain language.
Scope
The defined boundaries of a project - what work is included, what materials are needed, and where the job begins and ends.
Load-bearing wall
A wall that supports the structural weight of the building above it and cannot be removed without engineering assessment and proper support.
Rough-in
The stage of construction where plumbing, electrical, or HVAC work is installed inside walls or floors before surfaces are closed up.
Pilot hole
A small hole drilled before driving a screw or nail, which prevents wood from splitting and makes fastening easier and more accurate.
Plumb
Perfectly vertical - a wall, post, or fixture that is plumb is straight up and down, confirmed with a level.
Contingency budget
An extra percentage of funds set aside to cover unexpected costs, damage discoveries, or material overruns during a project.
The Essential Starter Toolkit
You do not need a fully stocked workshop to handle most beginner projects. A focused set of quality hand and power tools will serve you across dozens of jobs without overwhelming your budget or storage space.
- Tape measure (25 ft): Measure twice, cut once - this rule applies to every project involving materials.
- Hammer (16 oz): The workhorse for driving nails, minor demolition, and general persuasion.
- Cordless drill/driver: Far more useful than a screwdriver alone; drives screws and drills pilot holes.
- 4-ft level: Ensures shelves, frames, and fixtures are truly plumb and level, not just close.
- Utility knife: Essential for scoring drywall, cutting packaging, and trimming materials cleanly.
- Adjustable wrench and pliers: Handles most fastening tasks without needing a full socket set.
- Safety gear: Safety glasses, work gloves, and hearing protection are not optional accessories.
Buy the best quality you can reasonably afford within each category. A well-made hammer lasts decades; a cheap one may fail mid-job. Avoid buying specialty tools for a first project - rent what you need once and buy later if it proves essential.
Rent Before You Commit to Buying
Specialty tools like oscillating multi-tools, tile saws, or flooring nailers can be rented from most home improvement centers for a fraction of their purchase price. Renting for your first use helps you decide whether a tool genuinely earns a place in your collection before you invest in it.
Safety Basics Every First-Timer Must Know
Home improvement injuries are common and often preventable. The majority result from skipping protective equipment, working on unstable surfaces, or rushing tasks that require careful attention.
Follow these non-negotiable safety habits on every project:
- Locate utilities before cutting or drilling. Use an inexpensive stud finder with AC wire detection, and call 811 (the national dig-safe hotline) before any outdoor excavation.
- Wear eye and ear protection. Sawdust, debris, and noise-induced hearing loss are cumulative hazards that are easy to dismiss and hard to reverse.
- Stabilize your work surface. Most ladder falls happen on the way up or down. Set four feet firmly on level ground, maintain three points of contact, and never overreach.
- Respect electricity. Turn off the correct circuit breaker, then verify the outlet or fixture is de-energized with a non-contact voltage tester before touching any wires.
- Ventilate when using adhesives, paints, or strippers. Many common products emit fumes that accumulate dangerously in enclosed spaces.
If a task makes you uncertain about your safety at any step, pause. The cost of calling a professional is almost always lower than the cost of an injury or a repair gone wrong.
Permits, Codes, and When to Call a Pro
Building codes exist to protect occupants and future owners - not just to generate paperwork. Many home improvement projects require a permit and inspection before work can legally be closed up behind walls or considered complete.
As a general rule, any project that changes the structure, electrical system, plumbing, or HVAC of your home is likely to require a permit. Cosmetic work - painting, flooring, fixture replacement with like-for-like hardware - typically does not. However, requirements vary significantly by municipality, and the only way to know for certain is to ask your local building department. Our article on what a building permit actually covers walks through this in detail.
Beyond permits, there are categories of work that belong exclusively in professional hands regardless of your skill level:
- Electrical panel work and new circuit installation
- Gas line connections or modifications
- Structural modifications, including removing walls
- Main plumbing supply and drain tie-ins
Unpermitted work in these areas can void your homeowner's insurance, create liability during a home sale, and - most critically - create hidden hazards for anyone in the home. When in doubt, consult a licensed contractor before starting.
Skipping a Permit Can Cost You Later
Unpermitted work discovered during a home inspection or insurance claim can result in required tear-out, fines, or denial of coverage - all far more expensive than the permit itself. Always verify requirements with your local building department before starting structural, electrical, plumbing, or HVAC work.
The Costliest First-Timer Mistakes - and How to Avoid Them
Most first-timer mistakes are planning failures, not execution failures. Understanding them in advance is one of the most valuable things this guide can offer.
- Underestimating material quantities
- Always buy 10-15% more tile, flooring, or paint than your measurements suggest. Off-cuts, breakage, and future touch-ups make that buffer essential, and dye lots change between production runs.
- Skipping surface prep
- Paint applied over dirty, glossy, or cracked surfaces will peel. Tile set on a flexing subfloor will crack. The prep work is the project - finishing coats only look as good as what's beneath them.
- Ignoring the project's impact on adjacent systems
- Removing a wall may affect HVAC airflow. Replacing a floor may raise its height enough to affect door clearance. Think through second-order effects before committing.
- Setting an unrealistic timeline
- First-timers routinely underestimate how long tasks take. Double your initial time estimate for unfamiliar work, and avoid starting projects you can't leave temporarily incomplete if life intervenes.
- Not reading instructions before opening the package
- Adhesives, grout, and paints all have specific mixing ratios, cure times, and temperature requirements. Reading labels first costs minutes; ignoring them can cost the entire project.
Careful planning at the start shapes everything that follows - a principle that applies just as much to a renovation as it does to navigating a new role with intention. Approach your first project with the same mindset: learn the landscape before you start moving things around.
Frequently Asked Questions

Author
Home & Garden Editorial Team
Home & Garden Editorial Team is the collective byline for our editorial team and contributor network. Articles published under this byline or an editorial pen name are researched, written, and reviewed according to our editorial standards for clarity, consistency, and independence before publication.
View all articles →