
Setting Up a New Windows PC the Right Way
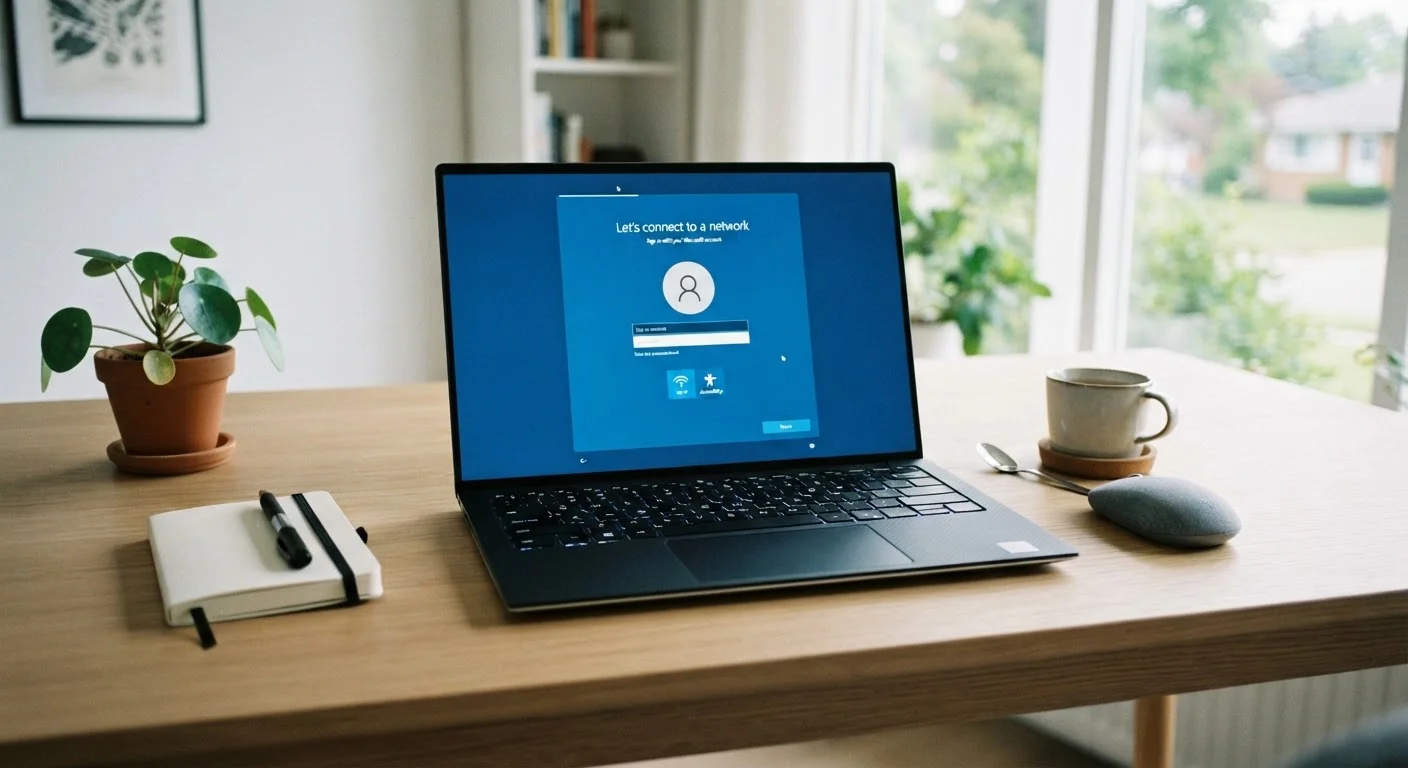
Photo credit: AdvisorHQ.net | Informative Website
In this article
From first boot to everyday use, here is a clear walkthrough of everything worth doing when you get a new Windows computer.
Key Takeaways
- Running Windows Update immediately after first boot closes security gaps before you do anything else.
- Creating a local backup strategy from day one prevents data loss down the road.
- Removing pre-installed bloatware frees up storage and improves performance noticeably.
- Setting up a Microsoft account unlocks syncing, recovery options, and the Microsoft Store.
- A handful of privacy settings are worth reviewing before you start using the machine daily.
Why First-Boot Decisions Matter More Than You Think
Getting a new Windows PC is exciting - but how you set it up in the first hour shapes your experience for years. Skipping updates, ignoring privacy settings, or leaving bloatware installed are common shortcuts that cause real headaches later: slower performance, security gaps, and lost files. If you have ever wondered whether your old laptop got sluggish because of something you did early on, the answer is often yes.
If you are still deciding between a desktop and a laptop, our comparison of desktops and laptops can help you think through the trade-offs before you commit.
This guide walks you through setup in the right order - not just what to do, but why each step matters - so you start on solid footing.
What you will need
What You Will Need Before You Start
Gather everything listed above before powering on. The setup wizard moves quickly, and having your Wi-Fi password and Microsoft account credentials ready prevents you from getting stuck partway through. If you plan to use a password manager (strongly recommended), decide which one before you begin creating accounts during setup.
Microsoft Account
Enables syncing, device recovery, and access to the Microsoft Store and OneDrive.
External Hard Drive or USB Drive
Used to create a local backup of important files as a safety net.
Password Manager App
Stores and auto-fills complex, unique passwords for each account you create.
Connect to a Trusted Network First
Before completing setup, make sure you are connected to a private, password-protected Wi-Fi network - not a public hotspot. Completing Windows setup over an open public network exposes your account credentials and device to unnecessary risk. If you only have access to public Wi-Fi right now, finish the physical setup steps and delay account sign-in and updates until you are on a secure connection.
Step-by-Step Setup Instructions
Follow these steps in order. Each one builds on the last - for example, removing bloatware before updating means you are not wasting time updating apps you are about to delete anyway.
Complete the Out-of-Box Setup (OOBE)
When you power on the PC for the first time, Windows walks you through a setup wizard called the Out-of-Box Experience. You will choose your region, keyboard layout, and network connection. Connect to your Wi-Fi here - Windows needs internet access to finish setup and verify your Microsoft account.
You will be offered the choice between signing in with a Microsoft account or creating a local account. A Microsoft account is recommended for most users because it enables password recovery, device backup via OneDrive, and access to the Microsoft Store. A local account keeps everything offline and is a valid choice for privacy-focused users who do not need those features.
Run Windows Update Immediately
Go to Settings > Windows Update and click Check for updates. Download and install everything available, including optional driver updates if they appear. Your PC may restart one or more times. Repeat until the update screen shows "You're up to date."
This step patches security vulnerabilities that were discovered after your PC was manufactured or shipped. It should happen before you install apps, create documents, or sign into sensitive accounts.
Remove Pre-Installed Bloatware
Most new Windows PCs come loaded with trial software, games, and promotional apps you did not ask for - collectively called bloatware. Go to Settings > Apps > Installed apps and scroll through the list. Uninstall anything you do not recognize or need, especially trial antivirus software, game launchers, and third-party toolbars.
Windows Defender, which is built into Windows, provides solid baseline protection on its own. Running a separate trial antivirus alongside it can actually slow your machine and cause conflicts.
Review Privacy and Telemetry Settings
Navigate to Settings > Privacy & security. Here you can control which apps have access to your camera, microphone, and location, and how much diagnostic data Windows sends to Microsoft. Set each permission to match your comfort level - most users benefit from turning off location access for apps that do not clearly need it.
Under Diagnostics & feedback, you can switch from "Full" to "Required" diagnostic data, which limits what telemetry is sent while keeping Windows functioning normally.
Set Up Backup
Data loss from drive failure, accidental deletion, or ransomware is a real risk. Set up at least one backup method from the start. Windows includes File History (found in Settings > System > Storage > Advanced storage settings) for automatic backups to an external drive. OneDrive, if you have a Microsoft account, can automatically sync your Desktop, Documents, and Pictures folders to the cloud.
Ideally use both: one local backup on an external drive and one cloud backup. Either is meaningfully better than none.
Install Your Essential Apps
With security and settings sorted, install the software you will actually use - a web browser you prefer, a password manager, productivity tools, and anything else your work or personal life requires. Download apps from the Microsoft Store or directly from official developer websites. Avoid downloading software from third-party download aggregator sites, which sometimes bundle unwanted extras.
Keep your app list lean at first. You can always add more later, but starting with fewer apps means fewer things competing for system resources and fewer potential security entry points.
Do Not Skip Windows Update
A new PC sitting in a box for weeks or months will almost certainly be missing critical security patches. Skipping Windows Update leaves known vulnerabilities open. Set aside time for updates before you store any sensitive files or log into financial accounts - this step is not optional.
Keeping Your PC Running Well Over Time
Setup is not a one-time event. A few ongoing habits keep your machine healthy: restart it fully at least once a week (not just sleep), let Windows Update run when prompted, and review your installed apps every few months to remove anything you no longer use. Storage drives last longer and perform better when they are not completely full - try to keep at least 10-15% of your drive free.
Once you are comfortable with the basics, small efficiency gains add up fast. Learning the keyboard shortcuts built into Windows can meaningfully reduce the time you spend on repetitive tasks. Keyboard shortcuts that save real time is a practical reference worth bookmarking.
Speed Up Daily Work With Shortcuts
Once your machine is set up, learning a few keyboard shortcuts can dramatically cut the time you spend on routine tasks. See our guide to time-saving keyboard shortcuts for a practical reference that covers Windows, browsers, and common office apps.

Author
Tech & Gadgets Editorial Team
Tech & Gadgets Editorial Team is the collective byline for our editorial team and contributor network. Articles published under this byline or an editorial pen name are researched, written, and reviewed according to our editorial standards for clarity, consistency, and independence before publication.
View all articles →