
Composting at Home: Turning Kitchen and Yard Waste Into Garden Gold
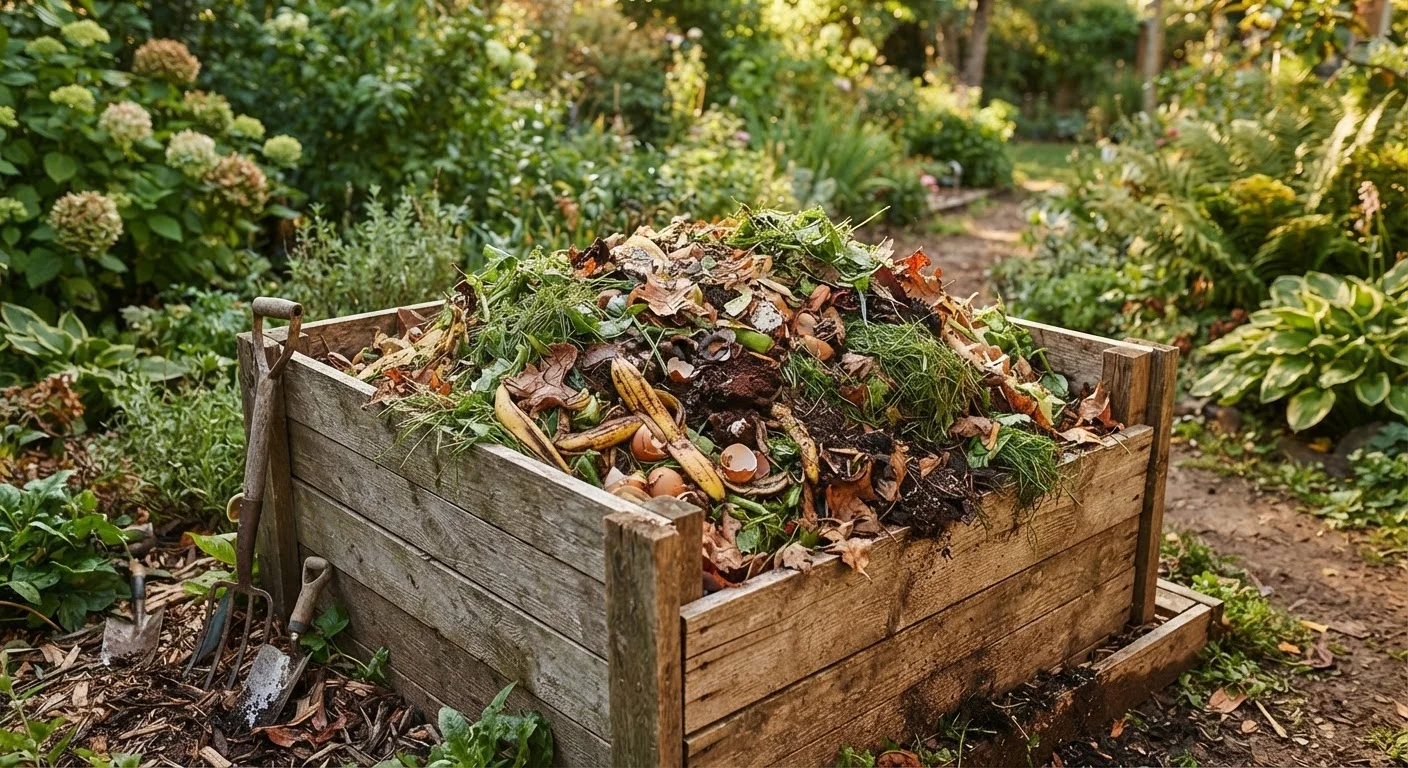
Photo credit: AdvisorHQ.net | Informative Website
In this article
Discover how composting works, what materials to use, and how to maintain a healthy pile that produces rich, usable compost.
Key Takeaways
- Composting requires a balance of carbon-rich 'browns' and nitrogen-rich 'greens' to decompose properly.
- Regular turning and adequate moisture are the two most controllable factors in compost speed.
- Finished compost improves soil structure, drainage, and nutrient availability in garden beds.
- Most kitchen scraps except meat, dairy, and oily foods are safe to compost at home.
- A basic pile can produce usable compost in as little as two to three months with active management.
Understanding How Composting Works
Composting is a managed process of organic decomposition. Microorganisms - bacteria, fungi, and other soil life - break down plant and food material into humus, a dark, crumbly substance that dramatically improves garden soil. The process happens naturally in any pile of organic matter, but when you manage the inputs deliberately, you speed things up and produce a more consistent end product.
Every compost pile needs four things: carbon, nitrogen, moisture, and air. Carbon-rich materials (called browns) include dried leaves, cardboard, paper, and straw. Nitrogen-rich materials (called greens) include fruit and vegetable scraps, fresh grass clippings, and coffee grounds. A rough ratio of 3 parts browns to 1 part greens by volume gives microbes the right environment to thrive without the pile becoming slimy or smelly.
Moisture should feel like a wrung-out sponge - damp but not dripping. Oxygen is introduced by turning the pile, which also prevents anaerobic (airless) conditions that cause foul odors. Understanding this balance upfront saves a lot of troubleshooting later.
For context on how finished compost differs from mulch in the garden, see our breakdown of mulch vs. compost.
Speed Up Decomposition With One Simple Habit
Before adding kitchen scraps to your pile, collect them in a small countertop container for a few days. Chop them into rough pieces before adding. This batching approach reduces how often you visit the pile while improving surface area - the single biggest factor in how quickly materials break down.
What to Compost - and What to Leave Out
Knowing what belongs in your pile keeps it healthy and odor-free. Most households generate plenty of compostable material without trying.
Safe to compost:
- Fruit and vegetable scraps (including citrus)
- Coffee grounds and paper filters
- Tea bags (check for plastic mesh first)
- Eggshells
- Dry leaves, grass clippings, and garden trimmings
- Shredded cardboard and uncoated paper
- Straw and hay
Keep these out:
- Meat, fish, and bones
- Dairy products and greasy foods
- Pet waste (cat litter, dog feces)
- Diseased plant material
- Invasive weeds that have gone to seed
Avoid These Common Inputs That Attract Pests
Meat, fish, dairy, and cooked foods should never go into a home compost pile. They attract rodents and produce strong odors during decomposition. Even small amounts added repeatedly can establish a persistent pest problem. If you want to divert cooked food from landfill, look into local municipal composting programs, which are equipped to handle a broader range of food waste safely.
Cooked foods and animal products attract rodents and can introduce pathogens. Sticking to raw plant material and dry carbon sources keeps your pile manageable and neighbors happy. If you eventually want to add more variety, a sealed tumbler-style bin offers better pest protection than an open pile.
Planning to use your finished compost in food beds? See our guide to starting a vegetable garden from scratch for tips on working compost into new garden plots.
Setting Up Your Compost System
You don't need expensive equipment to start composting. A simple 3-foot by 3-foot pile in a corner of your yard works. That said, a bin - built from pallets, wire mesh, or a purchased plastic unit - helps retain heat and moisture, which accelerates decomposition.
Choose a location with partial shade, good drainage, and easy access year-round. Avoid placing the pile directly against a fence or structure, as decomposing materials can retain moisture and cause damage over time.
What you will need
Once sited, begin building in layers: a base layer of coarse browns (like wood chips or straw) to encourage airflow from the bottom, then alternate greens and browns as you add material. Chop or shred inputs when possible - smaller pieces decompose faster because they expose more surface area to microbial activity.
Maintaining Your Pile Through the Seasons
Active maintenance is what separates a slow, passive pile from one that yields finished compost in two to three months. The main tasks are turning, moisture management, and rebalancing inputs when needed.
Choose and position your compost bin or pile location
Select a level spot with partial shade and good drainage. Keep it within easy reach of your kitchen door and garden beds. Allow at least 3 feet of clearance on each side for turning access.
Build your base layer with coarse browns
Start with a 4-6 inch layer of coarse carbon material - wood chips, straw, or shredded cardboard. This base layer lifts the pile off the ground, encouraging airflow from below and preventing waterlogging.
Layer greens and browns as you add material
Each time you add kitchen scraps or fresh garden clippings (greens), cover them with a layer of browns roughly three times as thick. This ratio prevents the pile from becoming matted or anaerobic. Bury food scraps in the center of the pile to discourage pests.
Check and adjust moisture levels
Grab a handful of material from the center of the pile and squeeze it. It should feel like a damp sponge - moist but not dripping. If it's too dry, add water with a hose or mix in fresh greens. If it's soggy, add more dry browns and turn the pile.
Turn the pile regularly to introduce oxygen
Use a pitchfork or compost turning tool to move material from the outside of the pile to the inside and vice versa. Aim to turn every one to two weeks for active composting, or monthly for a more passive approach. A well-aerated pile will feel warm in its center - a sign microbes are actively working.
Harvest finished compost from the bottom of the pile
Finished compost looks dark brown, smells like earth, and has a crumbly texture with no recognizable food or plant scraps. It typically accumulates at the bottom. Use a garden fork to pull aside unfinished material from the top and sides, then scoop out the finished compost from beneath.
In winter, decomposition slows significantly in cold climates but doesn't stop entirely. Insulate the pile with a thick layer of straw or leaves and continue adding kitchen scraps - they'll begin breaking down when temperatures rise in spring. In summer, check moisture more frequently, as heat accelerates evaporation.
Once you have a steady composting habit, you'll find it integrates naturally into kitchen and garden routines. Finished compost can go into vegetable beds, container gardens, and even lawn top-dressing. If you grow food in tight spaces, our guide to growing food in small spaces explains how to use compost effectively in raised beds and containers.

Author
Home & Garden Editorial Team
Home & Garden Editorial Team is the collective byline for our editorial team and contributor network. Articles published under this byline or an editorial pen name are researched, written, and reviewed according to our editorial standards for clarity, consistency, and independence before publication.
View all articles →