
Fluids Under the Hood: A Driver's Checklist for Routine Inspections
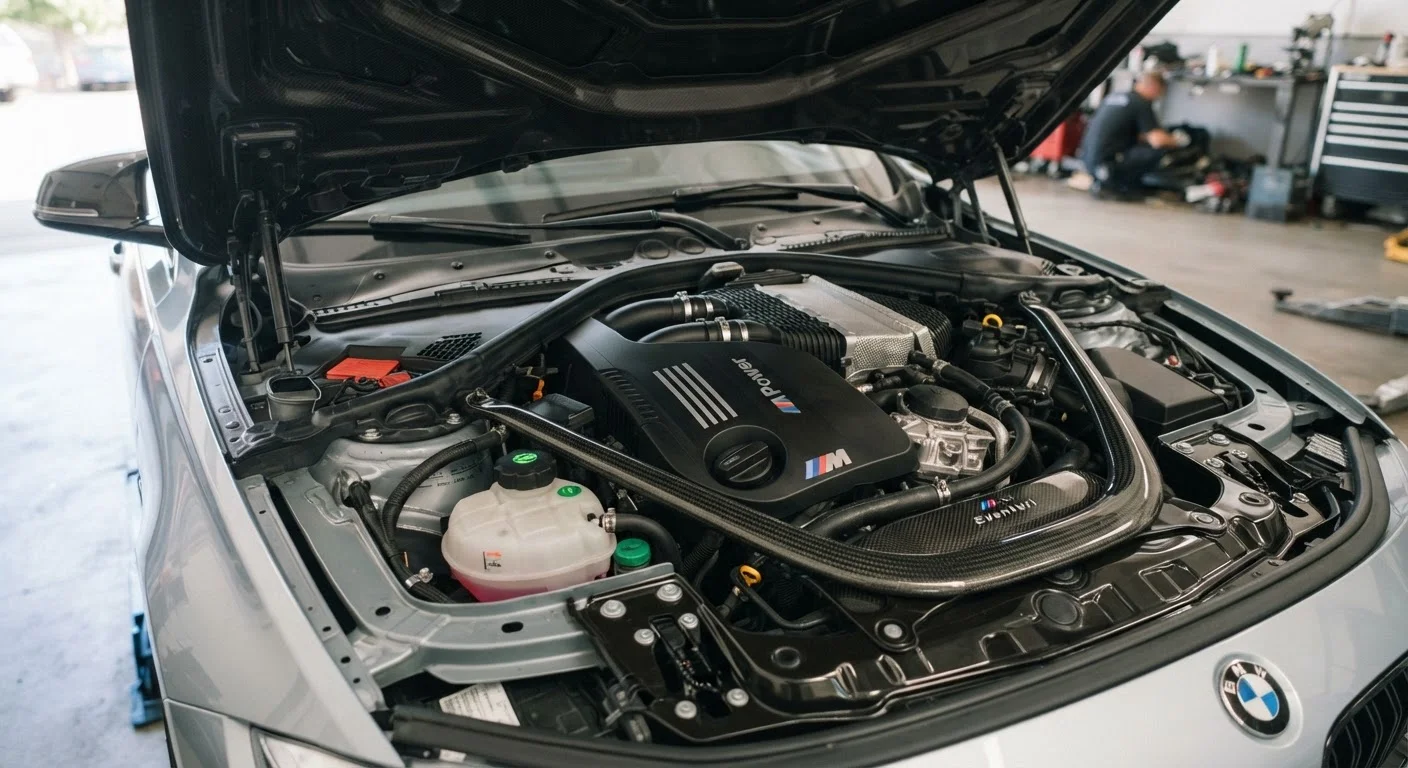
Photo credit: AdvisorHQ.net | Informative Website
In this article
A step-by-step checklist covering coolant, brake fluid, transmission fluid, power steering, and more—so nothing gets missed.
Key Takeaways
- Most fluid checks require only a clean rag, your owner's manual, and a safely parked, cool engine.
- Low or degraded fluids are among the most common causes of preventable mechanical failures.
- Each fluid has a distinct reservoir, color, and fill range - knowing the difference matters.
- Some fluids, like brake fluid, should be serviced by a qualified mechanic if degraded.
- Pairing fluid checks with seasonal vehicle prep catches problems before they escalate.
Why Regular Fluid Checks Matter
Your vehicle relies on a network of fluids to keep its mechanical and hydraulic systems running safely and efficiently. When those fluids drop below recommended levels - or degrade over time - the consequences can range from reduced performance to serious mechanical damage or safety risk.
The good news: most fluid inspections take under 30 minutes, cost nothing, and require no special tools beyond a clean rag and your owner's manual. Building this habit into your routine is one of the most effective forms of preventive vehicle care. For a broader look at year-round maintenance priorities, see our guide on seasonal vehicle preparation.
Before you begin any inspection, make sure the vehicle is parked on a level surface and the engine has been off long enough to cool - at least 15 minutes for most checks, and fully cold for accurate oil readings. Never open a hot coolant reservoir cap.
Never Open a Hot Coolant Cap
The cooling system operates under pressure, and opening the radiator or coolant reservoir cap while the engine is hot can cause scalding fluid to spray out with force. Always wait until the engine is fully cool - at least 15 to 30 minutes after shutdown - before inspecting or opening any coolant component. If steam or fluid is visibly escaping, do not approach the cap at all.
Tools and Supplies You'll Need
No special mechanical training is required to check most fluid levels. Gather these items before you open the hood:
Owner's Manual
Identifies correct fluid types, reservoir locations, and service intervals specific to your vehicle.
Clean Lint-Free Rags
Used to wipe dipsticks clean before re-reading and to catch any drips during the inspection.
Flashlight or Work Light
Illuminates the engine bay so reservoir markings and fluid colors are clearly visible.
Correct Replacement Fluids
Have the manufacturer-specified grades of oil, coolant, and washer fluid on hand in case a top-up is needed.
Maintenance Log or Notebook
Records the date, mileage, and any findings from each inspection to track patterns over time.
Your owner's manual is the most important resource here - it identifies each reservoir's location, specifies the correct fluid type for your vehicle, and lists the recommended service intervals. Using the wrong fluid type (for example, the wrong transmission fluid grade) can cause damage even if the level appears correct.
The Fluid Inspection Checklist
Work through each fluid systematically. Note the current level, color, and any unusual smell. If a fluid is low, top it off with the grade specified in your owner's manual. If a fluid appears dark, cloudy, milky, or heavily contaminated, schedule a service appointment rather than simply topping it up - the condition of the fluid often signals a deeper issue.
Preparation
Engine Oil
Coolant (Antifreeze)
Brake Fluid
Transmission Fluid
Power Steering Fluid
Windshield Washer Fluid and Final Review
If a warning light appeared on your dashboard before you opened the hood, that context matters. Our reference guide on dashboard warning lights explains what each symbol means and how urgently it needs attention.
When to Call a Mechanic
Not every fluid issue is a DIY fix. Brake fluid that appears dark or cloudy, a coolant system that consistently loses level without a visible leak, or transmission fluid that smells burnt are all signs that professional diagnosis is warranted - not just a top-up.
Brake System: Safety First
The brake system is safety-critical, and any concerns - persistent low fluid levels, spongy pedal feel, or degraded fluid color - should be diagnosed by a qualified mechanic without delay. Do not continue driving a vehicle with suspected brake system issues. Topping off contaminated brake fluid without a proper flush does not restore braking performance and may give a false sense of security.
Brake system work in particular should always be handled by a qualified mechanic. Brake fluid is hygroscopic, meaning it absorbs moisture from the air over time, which lowers its boiling point and can affect braking performance. This is a safety-critical system, and topping off degraded fluid without flushing the system may mask a more serious problem.
For a complete picture of your vehicle's annual maintenance responsibilities beyond fluids - including registration, insurance review, and roadside preparedness - see the annual car ownership checklist. And if your coolant level is a recurring concern, our article on cooling system warning signs covers what to watch for before overheating becomes a crisis.

Author
Cars & Driving Editorial Team
Cars & Driving Editorial Team is the collective byline for our editorial team and contributor network. Articles published under this byline or an editorial pen name are researched, written, and reviewed according to our editorial standards for clarity, consistency, and independence before publication.
View all articles →